
A dime is smaller than a nickel but worth twice as much, so your child’s confusion has a perfectly reasonable starting point. Grade 2 money math gets easier when you teach value before speed, then build toward counting mixed coins and finding change.
Start with real or play money, model one calculation, and let your child explain the next. A sensible teaching order keeps that little pile of pocket change from becoming a math ambush.
What should a second grader know about money?
The Common Core standard 2.MD.8, formally coded 2.MD.C.8, asks children to solve word problems with dollar bills, quarters, dimes, nickels, and pennies. The Common Core standard calls for appropriate use of $ and ¢ symbols; 2.MD.8 is the parent-friendly shorthand.
Build the foundations first
Begin with coin recognition and coin values, then practice counting money with one denomination at a time. After that, introduce mixed coins, comparisons, and simple spending problems.
A Grade 1 curriculum develops counting and addition foundations that support this work. However, don’t assume every child enters second grade knowing coin values. Naming a quarter and understanding its 25-cent value are separate skills.
Keep the difficulty manageable
Start calculations in cents or whole dollars. For example, combine 15¢ and 10¢ before introducing prices involving dollars and cents.
Making change is a useful application of subtraction, but complicated decimal calculations shouldn’t become the starting point. Your child should first understand how much money they have, what an item costs, and whether those amounts match.
Teach coin recognition before counting
These four U.S. coins belong in your starter set.
| Coin | Value | Coins equal to $1 |
|---|---|---|
| Penny | 1¢ | 100 |
| Nickel | 5¢ | 20 |
| Dime | 10¢ | 10 |
| Quarter | 25¢ | 4 |
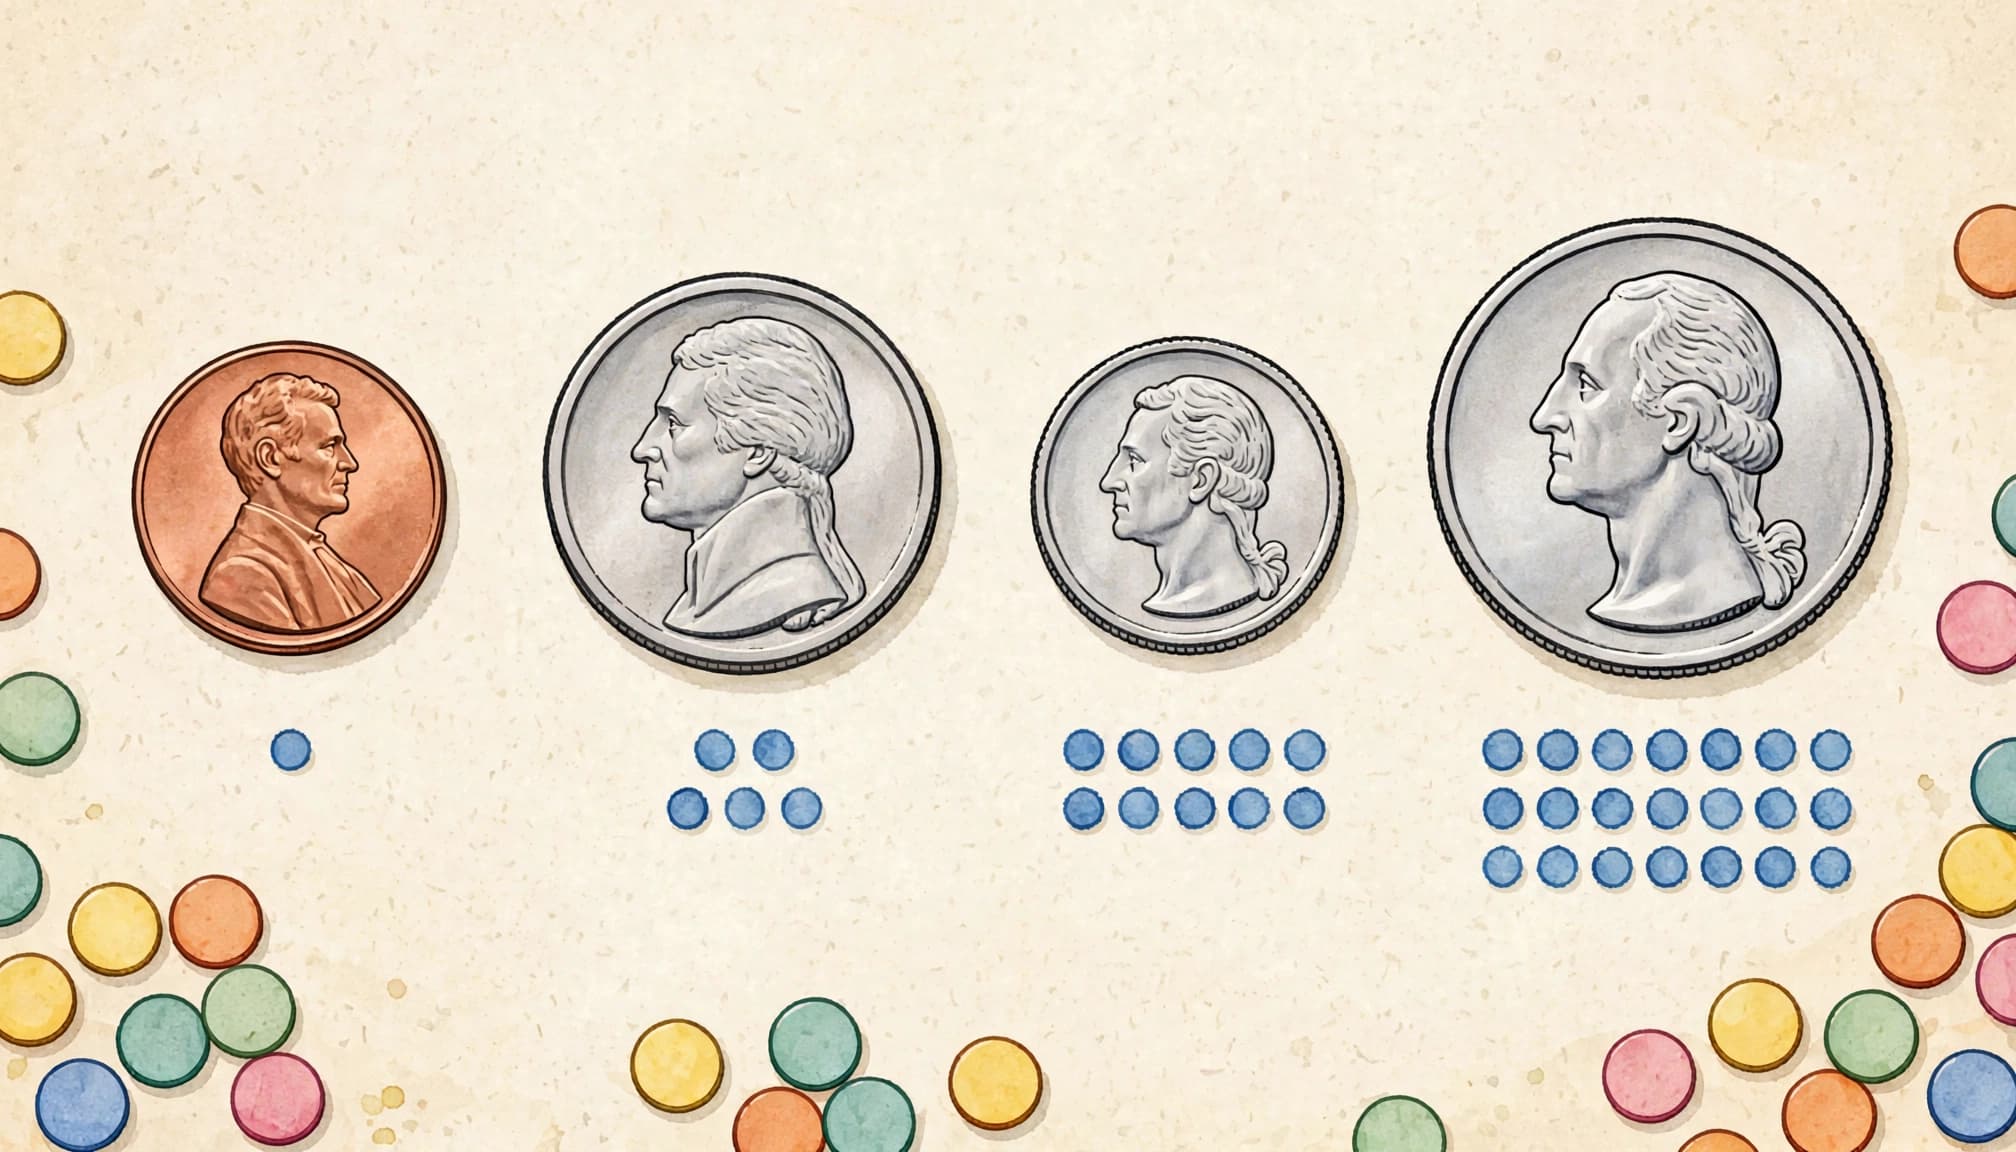
Coin values matter more than size; a coin’s size doesn’t tell the whole story.
Make an anchor chart children can use
Draw or attach pictures showing both sides of each coin. On the anchor chart, write each coin’s name and value, then review the coin values together.
Before counting coins, practice coin recognition by comparing nickels and pennies: one nickel has the same value as five pennies. Count both groups together and explain that they’re each worth 5¢.
If your child counts a dime as “one,” acknowledge that it’s one coin. Then distinguish number of coins from value in cents.
Add chants and money clip cards
Practice skip counting with a short chant: “Penny, one; nickel, five; dime, ten; quarter, twenty-five.” Say it while pointing to each coin.
For money clip cards, draw a coin or small group above three possible values. Your child clips a clothespin beside the correct answer, then explains their choice.
Shuffle the coins between rounds so position doesn’t become an accidental clue.
Count mixed coins and dollar bills
When counting money, grouping coins by value helps children keep track as the counting pattern changes.
Sort, skip count, then add pennies
For counting coins, sort by value and use skip counting to move through each group:
- Sort the mixed coins into quarters, dimes, nickels, and pennies.
- Count quarters by 25s, then dimes by 10s.
- Count nickels by 5s.
- Add the 1¢ coins by ones and record the total.
For 2 quarters, 5 dimes, 6 nickels, and 2 pennies, count:
“25, 50; 60, 70, 80, 90, 100; 105, 110, 115, 120, 125, 130; 131, 132.”
The total is 132 cents, or $1.32. Check it by adding the grouped values: 50 + 50 + 30 + 2 = 132.
Begin with smaller groups first. A 5¢ coin and three 1¢ coins equal 8¢. Three 5¢ coins equal 15¢.
Count bills separately before combining
Teach $1, $5, $10, and $20 dollar bills, using counting patterns of 1s, 5s, 10s, and 20s.
For mixed bills, start with the largest value. A $20 bill, $10 bill, $5 bill, and $1 bill total $36: “20, 30, 35, 36.”
Then add coins. Those bills plus two quarters make $36.50. Explain that bills contribute dollars while the quarters contribute another 50 cents.
If your child loses track, leave the bills and coins in separate groups until both totals are clear.
Trade coins and find the fewest coins
Trading coins changes the grouping without changing the total. First, have your child trade physical coins to make equivalent groups.
Four nickels equal two dimes, or 20¢. Later, your child can make these exchanges mentally while counting.
This connects with Grade 2 place-value activities, where children regroup objects without changing their total.
To make an amount with the fewest coins, choose the largest coin that fits, assuming enough coins are available.
For 67¢, use two quarters, one dime, one nickel, and two pennies.
That’s seven coins altogether. Ask your child to build another combination worth 67¢ and compare the coin counts.
More coins don’t always mean more money. Seven low-value coins can be worth less than one higher-value coin.
Add, subtract, and compare money amounts
Money word problems give arithmetic a job: finding a total, deciding whether there’s enough, or working out what’s left.
Keep the units consistent
Write 45 cents as 45¢ or $0.45, never $45. The dollar sign goes before the amount; the cent symbol goes after it.
Compare coin values in the same unit. For example, 45¢ < 50¢, 75¢ > 60¢, and 100¢ = $1.
Have your child read each comparison aloud using “less than,” “greater than,” or “equal to.” The spoken sentence connects the symbol with the amounts.
Model what happens before calculating
For a practice problem, price a pencil at 35¢ and an eraser at 20¢. Together, they cost 55¢ because 35 + 20 = 55.
If your child starts with 80¢, then 80 – 55 = 25¢ remains.
The official Common Core code is 2.MD.C.8, often shortened to 2.MD.8 for parents. It covers one-step and two-step word problems within 100.
If choosing an operation causes trouble, use our Grade 2 word-problem practice to show the situation before writing an equation.
Teach simple change problems two ways
Change equals the amount paid minus the price. For making change, start with whole-dollar transactions, then try a small cent-based problem.
Paying $5 for a $3 item gives $2 change. Paying 50 cents for an item priced at 35¢ gives 15 cents change.
Subtract the price from the payment
For the t-shirt example, your child pays $7 for a shirt costing $6.29.
Use the six whole dollars first. That leaves $1 available to cover the remaining 29¢.
Since $1 equals 100¢, calculate 100 – 29 = 71. The change is 71¢, or $0.71.
This keeps the subtraction visible without requiring your child to use unfamiliar decimal procedures.
Count up to check the answer
Start at the price and count toward the payment:
“From $6.29 to $6.30 is 1¢. From $6.30 to $6.50 is 20¢. From $6.50 to $7 is 50¢.”
The jumps total 1 + 20 + 50 = 71¢.
Finally, check that $6.29 plus $0.71 equals $7. Counting up checks the subtraction and shows how much of the payment remains as change.
Turn practice into a tiny home store
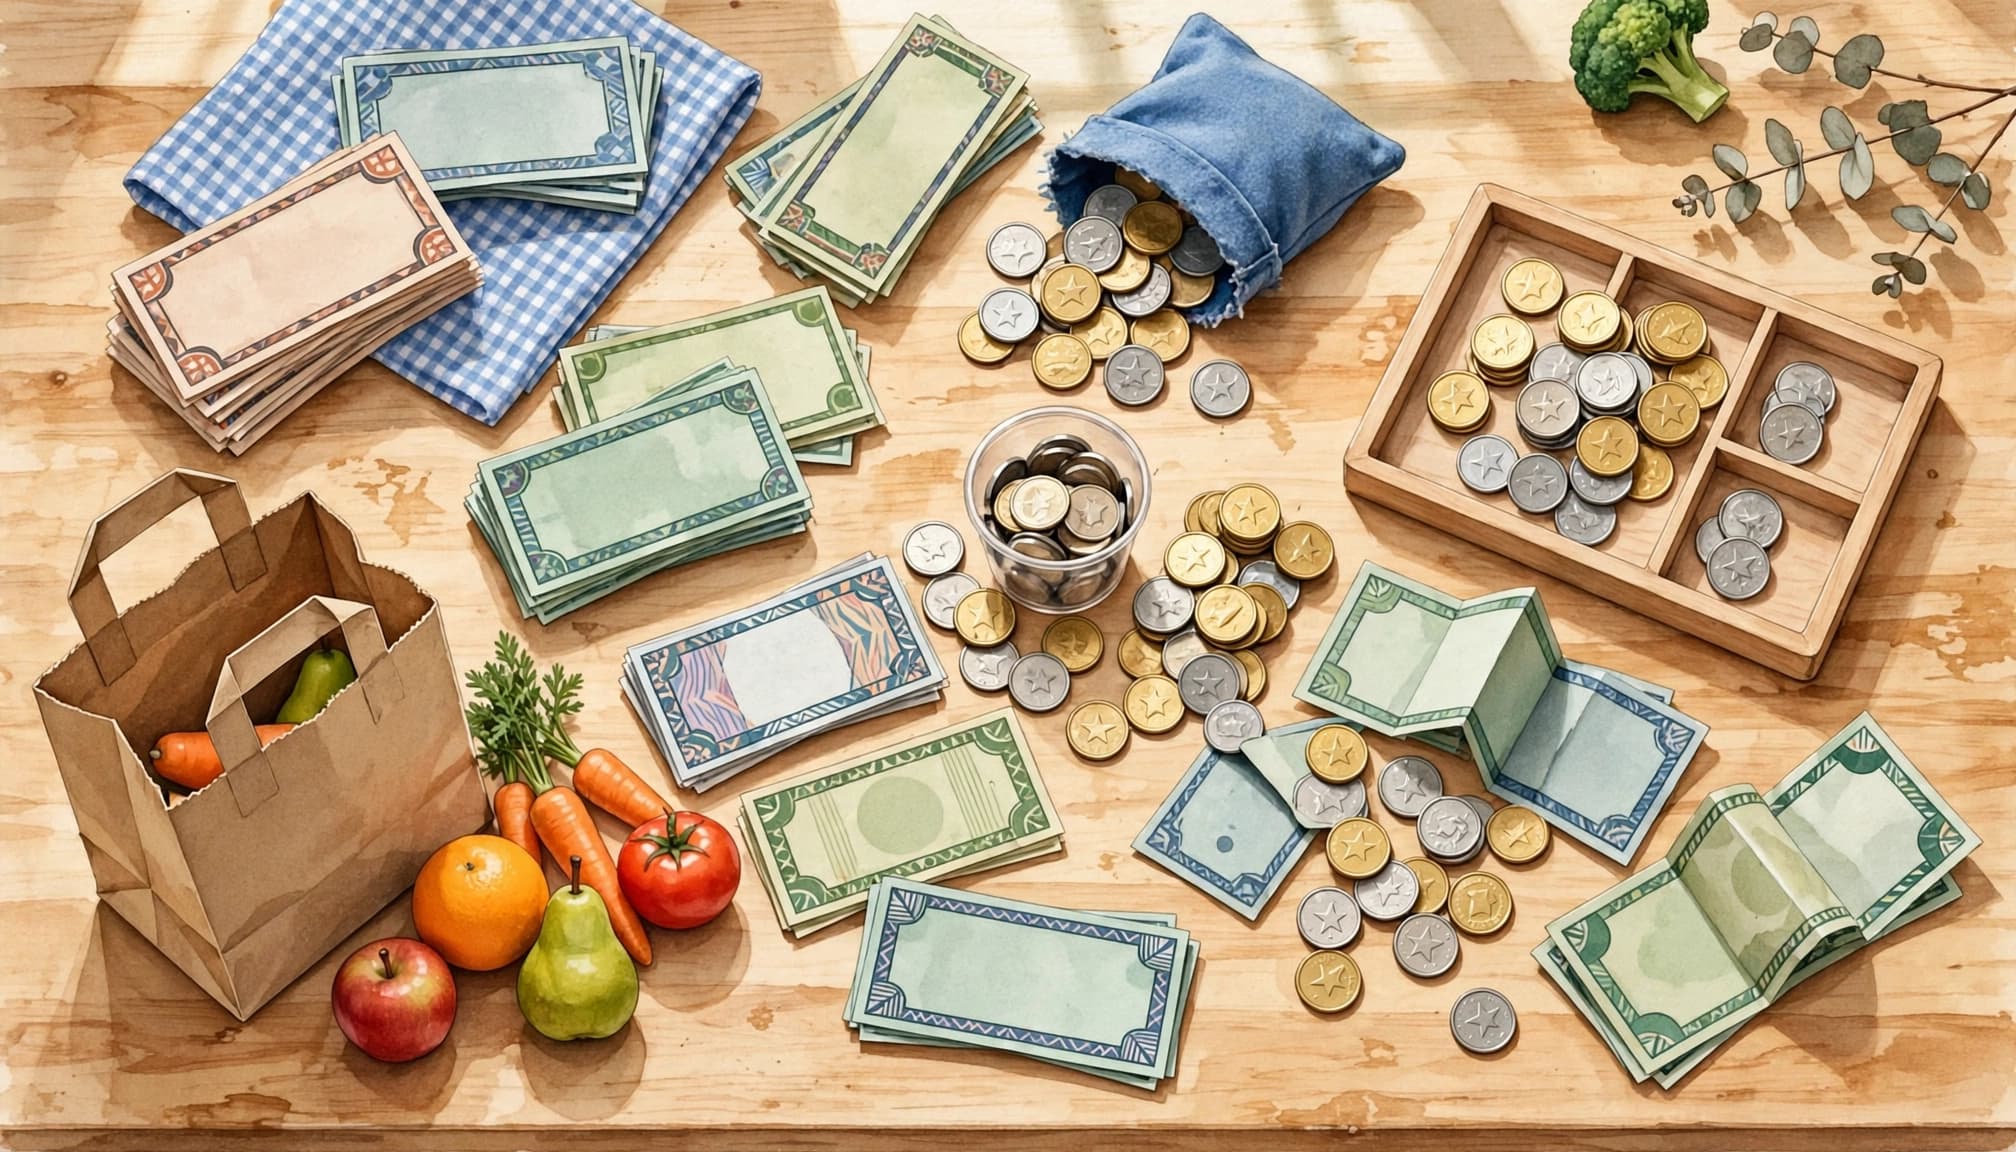
Set prices on toys, pencils, or pretend groceries. Start below $1 and leave tax out of these first transactions.
Your child can shop first, then take a turn as cashier. The cashier checks the payment and gives change, adding a different kind of practice.
Ask for an exact amount occasionally. For a 40¢ item, your child could use four 10-cent coins or a 25-cent coin, a 10-cent coin, and a 5-cent coin.
In a homeschool curriculum, spread these activities across several short sessions. Model one purchase, complete another together, then let your child handle one independently.
Our Grade 2 mathematics topics include human-curated teaching videos. Pause an explanation before the answer and ask your child to build the amount.
For Canadian money practice, use $2 toonies, $1 loonies, quarters, dimes, and nickels. Canadian worksheets commonly omit pennies. Keep currencies separate during early lessons.
Printable money worksheets with an answer key
Use these practice word problems after hands-on practice. Let your child draw coins or use play money alongside the page.
- What is the value of a 5¢ coin and three pennies?
- How much are three nickels worth?
- Find the total: 2 quarters, 5 dimes, 6 nickels, and 2 pennies.
- Add one $20 bill, one $10 bill, one $5 bill, and one $1 bill.
- Write >, <, or = between 45¢ and 50¢.
- You have 40 cents. How much more do you need for a 65¢ item?
- Make 67¢ using the fewest coins.
- You pay $7 for a $6.29 t-shirt. What change should you receive?
Answer key: 1. 8¢; 2. 15¢; 3. $1.32, including 50¢ in quarters; 4. $36; 5. <; 6. 25¢; 7. Two 25¢ coins, one 10¢ coin, one 5¢ coin, and two 1¢ coins; 8. 71¢.
Review the method as well as the answer. If your child repeatedly miscounts nickels, return to groups of nickels before assigning another mixed page.
Worksheets provide practice, but they can’t notice a mistaken counting method without someone reviewing the work. Correct one misunderstanding, then offer a fresh question.
Common questions about Grade 2 money math
What if my child keeps counting every coin as one?
Separate coin count from money value. Set three dimes beside 30 pennies and explain that both groups are worth 30¢, even though one has fewer coins.
Then practice one coin type at a time. If skip counting is shaky, Grade 1 worksheets covering counting and number patterns can provide a useful refresher without adding mixed coins yet.
How can my child decide whether there’s enough money?
Count the available money, then compare it with the price using the same units.
If your child has 60¢ for a 75¢ item, 60 < 75, so there’s a 15¢ shortage. If the amounts are equal, they can pay exactly. A larger amount leaves money over.
Key takeaways for your next money lesson
Teach value before speed, and move to mixed coins only when single-coin counting makes sense. A correct answer matters more when your child can explain how they found it.
Start your next session with one amount to build and one purchase to solve. Our free worksheets by grade page includes money worksheets for follow-up practice matched to the skill that needs attention.
The pocket change can stay small while the understanding grows.